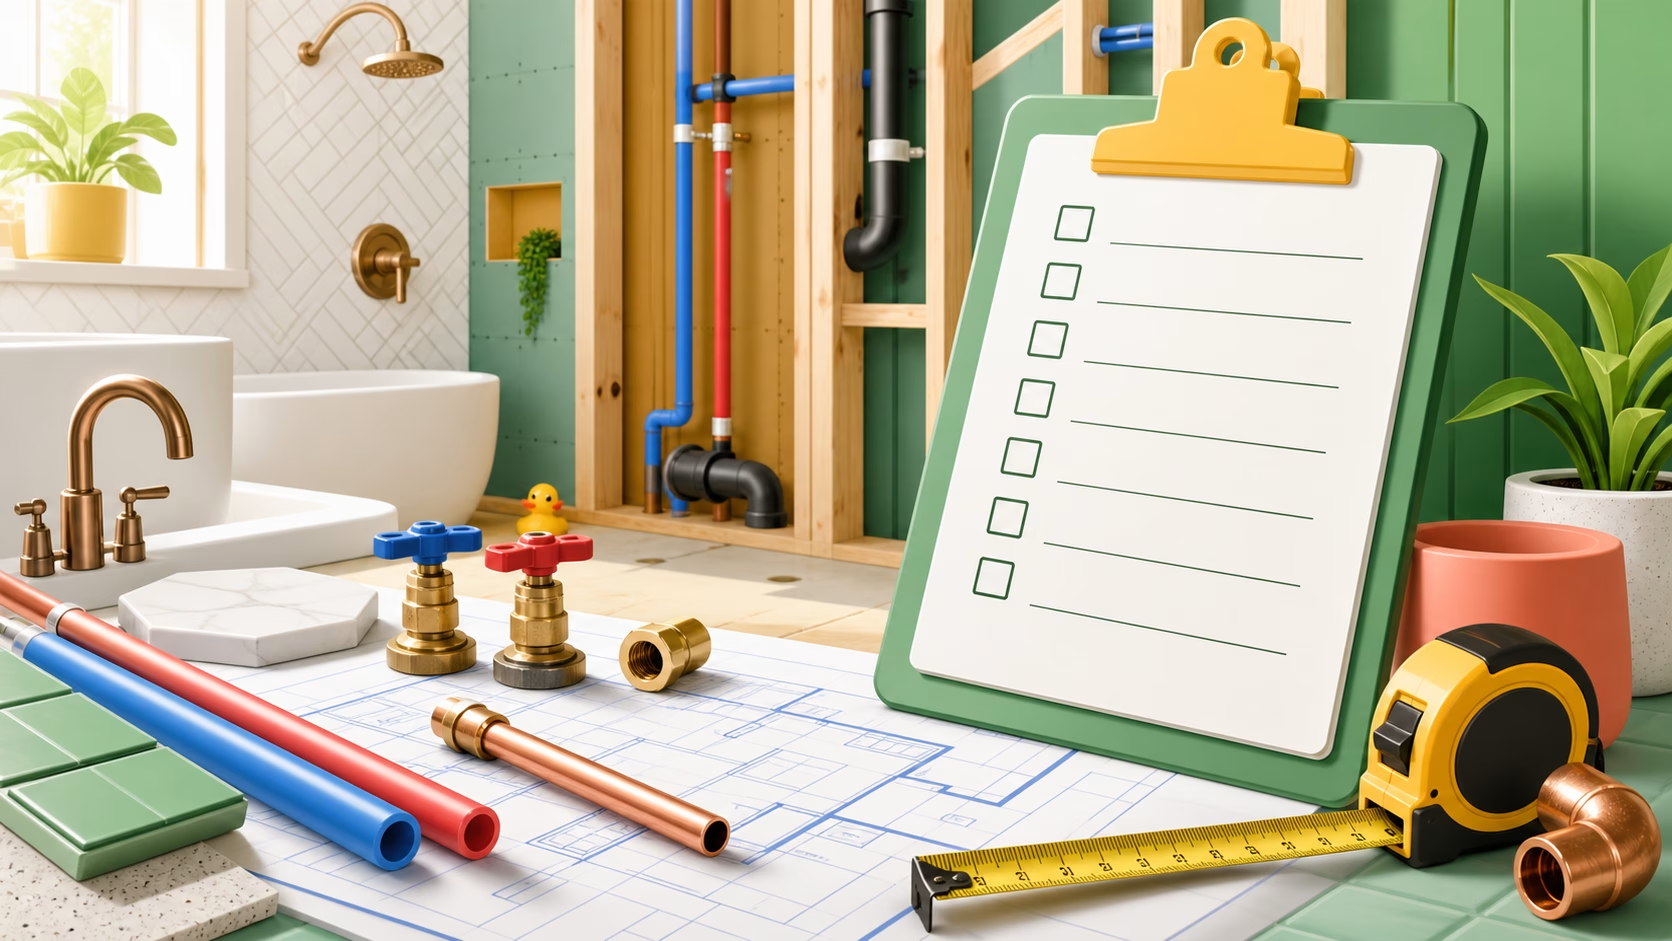
Plumbing Rough-In During a Bathroom Remodel
The finished bathroom gets all the attention.
Tile. Shower glass. Vanity lights. Faucets. Mirrors. Paint.
But the part that makes the bathroom work happens before any of that is finished. It happens when the walls are open, the floor may be exposed, and the plumber is placing the drains, vents, and water lines that will disappear later.
That stage is called rough-in.
If rough-in is done right, the finished bathroom feels simple. The toilet flushes. The sink drains. The shower valve sits at the right depth. The tub fills. The water shuts off when it should. The inspector signs off. The tile crew can keep moving.
If rough-in is done wrong, the remodel can stall fast.
This guide explains what plumbing rough-in means during a bathroom remodel, what happens behind the walls, why timing matters, and what mistakes cause delays.
What Does Plumbing Rough-In Mean?
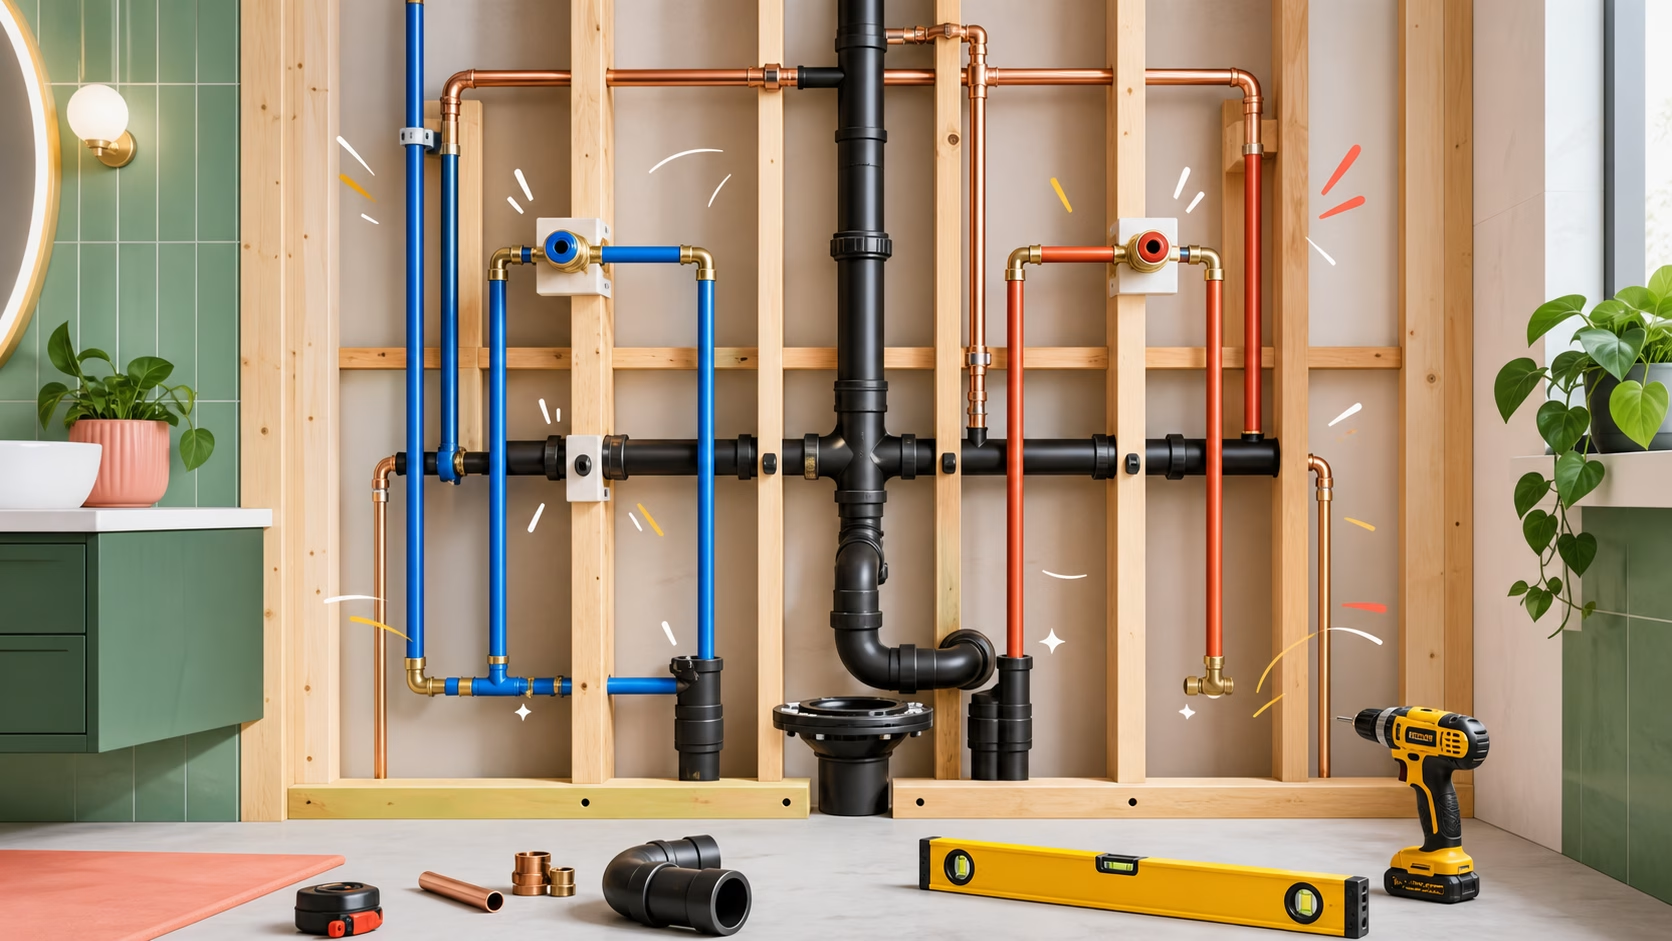
Rough-in is the stage where plumbing is installed before walls, floors, and ceilings are closed.
In a bathroom remodel, rough-in can include:
- Drain lines
- Vent lines
- Water supply lines
- Shower or tub valves
- Toilet flange preparation
- Sink drain and water connections
- Tub or shower drain setup
- Pressure testing
- Inspection when required
The trim pieces come later. Faucets, showerheads, handles, toilets, and final drain covers are usually part of finish plumbing.
Rough-in is about getting the hidden system right before it is covered.
Why Rough-In Timing Matters
Rough-in sits in the middle of the remodel schedule.
Demo happens first. Then framing, plumbing, electrical, HVAC if needed, and blocking often happen before walls close. Waterproofing, drywall, tile, cabinetry, and finish fixtures come later.
If the plumber roughs in too early, the layout may change after the pipes are placed.
If the plumber roughs in too late, the remodeler may be waiting with open walls and no way to move forward.
Good scheduling answers these questions before the job starts:
- When will demo expose the existing plumbing?
- Are any walls moving?
- Are fixtures staying or relocating?
- Are final fixture specs selected?
- When does inspection need to happen?
- What work can happen before inspection?
- What work must wait until plumbing passes?
The rough-in stage affects everyone else. A missed valve depth can affect tile. A drain in the wrong place can affect the shower pan. A toilet flange in the wrong spot can affect flooring and clearance.
Step 1: Confirm the Fixture Layout
Before rough-in, the plumber needs a real layout.
Not a guess. Not "somewhere around here." A real plan.
That means confirming:
- Toilet centerline
- Vanity location
- Sink bowl position
- Shower drain location
- Tub drain location
- Shower valve height
- Showerhead height
- Handheld outlet location
- Niche, bench, and grab bar locations
- Finished wall thickness
- Finished floor height
Finished surfaces matter. Tile, backer board, waterproofing, flooring, and wall treatments all add thickness. A valve set for bare framing may sit too deep once tile is installed.
That is why the plumber, remodeler, and tile installer need to be on the same page.
Step 2: Set the Drains
Drains do not work by accident.
They need the right pipe size, the right route, and the right slope. The Florida Plumbing Code requires horizontal drainage piping to be installed with uniform alignment and minimum slope based on pipe size.
In plain English: waste needs a steady downhill path.
During rough-in, the plumber may work on:
- Toilet drain and flange location
- Shower drain
- Tub drain and overflow
- Vanity drain
- Branch drain connections
- Trap placement
- Drain cleanout access where needed
The toilet is usually the least flexible fixture. It needs the drain and flange placed correctly so the toilet sits where it should, seals properly, and meets the finished floor correctly.
Showers and tubs also need careful drain planning. The drain must match the shower pan, tub, or waterproofing system. If the drain is off, the finished work can suffer.
Step 3: Plan and Connect the Vents
A drain line carries waste and water away. A vent helps the system breathe.
That may sound simple, but venting is one of the areas where bathroom remodels get into trouble.
The Florida Plumbing Code explains that vent systems protect fixture trap seals from pressure differences. Those trap seals are what help keep sewer gas out of the home.
When a fixture is not vented correctly, you may get:
- Gurgling drains
- Slow drainage
- Sewer smells
- Trap siphoning
- Inspection problems
- Rework behind newly opened walls
During rough-in, the plumber checks whether the existing vent can serve the new layout or whether changes are needed.
This is especially important when moving a sink, changing a tub to a shower, adding a second vanity sink, or relocating a toilet.
Step 4: Run Water Supply Lines
Water supply rough-in brings hot and cold water to the right locations.
That can include:
- Sink hot and cold supplies
- Toilet supply
- Shower valve supplies
- Tub valve supplies
- Handheld shower outlets
- Bidet seat or smart toilet supply
- Shutoff valve locations
Supply lines are usually easier to route than drains, but they still need planning. The plumber needs to know what fixture is going in and how it connects.
A standard vanity faucet is different from a wall-mounted faucet. A basic showerhead is different from a shower system with a rain head, handheld, and body sprays. A smart toilet or bidet seat may need coordination with electrical.
More outlets can also affect water pressure and user experience. Not every shower system is a good fit for every home without checking supply conditions.
Step 5: Install the Shower or Tub Valve
The shower valve is one of the most important rough-in parts.
It sits behind the finished wall. Once tile goes up, changing it becomes much harder.
Before the valve goes in, confirm:
- Valve brand and model
- Matching trim kit
- Desired handle height
- Showerhead height
- Finished wall thickness
- Tub spout location if there is one
- Handheld or diverter layout
- Access options
Valve depth matters. Manufacturers provide installation instructions for a reason. If the valve is too deep or too shallow, the trim may not fit properly.
This is one of the easiest mistakes to avoid if fixtures are selected before rough-in.
Step 6: Test Before Closing Walls
Once the rough-in is installed, it should be tested before walls close.
Depending on the scope and local requirements, this can include pressure testing water lines, testing drain and vent piping, and completing a rough-in inspection.
Testing before drywall and tile is common sense. If something leaks, it is much easier to fix while the wall is open.
Covering plumbing too early can create expensive rework. Nobody wants to remove new tile to fix something that could have been caught during rough-in.
Rough-In Inspection: What Homeowners Should Know
If the project requires a plumbing permit, rough-in inspection usually happens before insulation, drywall, backer board, or other coverings hide the work.
The inspector is not there to judge the tile choice. The inspection focuses on whether the plumbing work meets code requirements for the scope.
That can include:
- Drain and vent layout
- Pipe materials
- Pipe support
- Slope
- Fixture connections
- Water supply installation
- Test results
- Required access
The exact requirements depend on the local jurisdiction and project scope.
The important homeowner point is simple: do not schedule finished wall work until required rough-in approval is handled.
How a Plumber Coordinates With Remodelers
Bathroom remodels go smoother when trades communicate.
The plumber may need to coordinate with:
- General contractor or remodeler
- Framer
- Electrician
- Tile installer
- Waterproofing installer
- Cabinet installer
- Glass installer
For example, a shower niche may affect where pipes can run. A floating vanity may need water and drain lines placed cleanly inside a wall. A frameless glass panel may need blocking in the wall before it closes. A curbless shower may change drain and floor planning.
The plumber does not work in a vacuum. The rough-in has to support the finished bathroom.
Common Rough-In Mistakes That Delay Bathroom Remodels
Most rough-in delays come from missing details early.
Here are common ones.
Fixtures Were Not Chosen in Time
If the shower valve, tub, toilet, or vanity is not selected, rough-in becomes guesswork.
Guesswork behind tile is expensive.
Drain Locations Were Assumed
A shower drain that is "close enough" may not work with the pan or tile layout. A toilet flange in the wrong place can make the toilet sit too close to a wall or vanity.
Venting Was Ignored
Moving a fixture without reviewing the vent can lead to slow drains, gurgling, smells, or failed inspection.
Valve Depth Was Set Wrong
Finished wall thickness must be considered. Tile and backer board add depth.
Access Was Not Planned
Some valves, tubs, and specialty fixtures need service access. If nobody plans for it, future repairs get harder.
Work Was Covered Too Soon
Closing walls before testing or inspection can turn a small correction into a demolition job.
What Homeowners Can Do Before Rough-In
Homeowners can make the rough-in stage smoother by getting decisions made early.
Before rough-in, have:
- Final fixture list
- Product model numbers
- Vanity dimensions
- Sink location
- Tub or shower specifications
- Shower valve and trim selected
- Tile thickness or finished wall detail
- Flooring plan
- Clear decision on fixture locations
- Permit plan
- Schedule for inspection
You do not need to know every plumbing detail. That is the plumber's job. But you do need to choose the parts that affect the plumbing.
Why Rough-In Is Not the Place to Rush
Rough-in is not glamorous. It is also not the part to rush through.
Once walls close, the plumbing becomes harder to inspect, test, and change. A small miss can affect tile, cabinets, flooring, shower glass, and final fixture installation.
Good rough-in protects the finished remodel.
It keeps the project moving, reduces surprises, and gives the finished bathroom a better chance of working the way it should.
When to Call The Greatful Plumber
Call The Greatful Plumber before rough-in if you are:
- Moving bathroom fixtures
- Converting a tub to a shower
- Replacing a shower valve
- Adding a second sink
- Installing a freestanding tub
- Opening walls during a remodel
- Working with an older bathroom
- Unsure whether existing drains and vents are usable
- Trying to coordinate plumbing with a remodeler
A bathroom remodel should not depend on hope behind the walls.
The Greatful Plumber can help plan the plumbing scope, rough in drains and water lines, coordinate with remodelers, and make sure the hidden work supports the finished bathroom.
Frequently Asked Questions
What is bathroom plumbing rough-in?
Bathroom plumbing rough-in is the installation of drain, vent, and water supply lines before walls and floors are closed. It sets the hidden plumbing that finished fixtures connect to later.
Does rough-in happen before tile?
Yes. Plumbing rough-in happens before tile, drywall, backer board, and finished surfaces cover the work. Testing and inspection should happen before the plumbing is hidden when required.
Do I need fixtures picked before rough-in?
Yes, at least the plumbing-related fixtures. The plumber needs model information for items like shower valves, tubs, toilets, vanities, wall-mounted faucets, and specialty fixtures.
Can a plumber move bathroom fixtures during rough-in?
Often, yes, but it depends on the structure, existing drains, venting, slab or floor conditions, and code requirements. Moving fixtures should be planned before demo whenever possible.
What happens after rough-in?
After rough-in, the plumbing is tested and inspected when required. Then walls, waterproofing, tile, flooring, and cabinets can move forward. Finish plumbing comes later, when toilets, faucets, trims, and final fixtures are installed.
Opening Walls for a Bathroom Remodel?
Rough-in is the moment to get drains, vents, valves, water lines, testing, and inspection right. The Greatful Plumber can coordinate the plumbing before tile, drywall, and cabinets make every change harder.
Call The Greatful Plumber at (904) 643-3946 or visit tgplumber.com/contact to schedule plumbing service.